We have a couple of natural building workshops planned for this May, during the peak of our beautiful North Carolina’s spring season! I am especially excited that these workshops are being held at the site of our future home, in the rural town of Snow Camp, NC. Greg has been building us a permitted straw bale home on our 11 acres, as well as creating some infrastructure to accommodate the beginnings of The Mud Dauber School of Natural Building, which will be sharing our 11 acre home space!

Greg and Mike will be teaching two workshops this May, one is a 7 day cob building intensive, and the other is a 9-day permitted straw bale workshop! Here are the details:
7-Day Earthen Building Immersion:
May 4-10th
7-Day Earthen Building Immersion
May 4th-10th, 2014
$750
[20% off for full payment 90 days in advance, 10% off for 30 days in advance, 10% for family and friends participating together]
20-student maximum, to ensure a good instructor:student ratio.
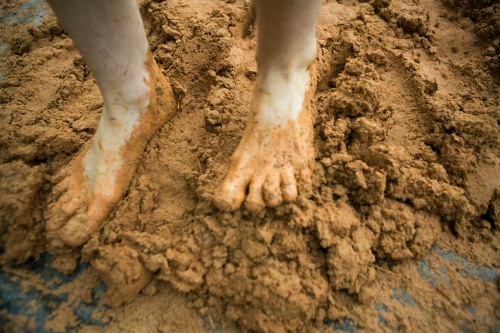
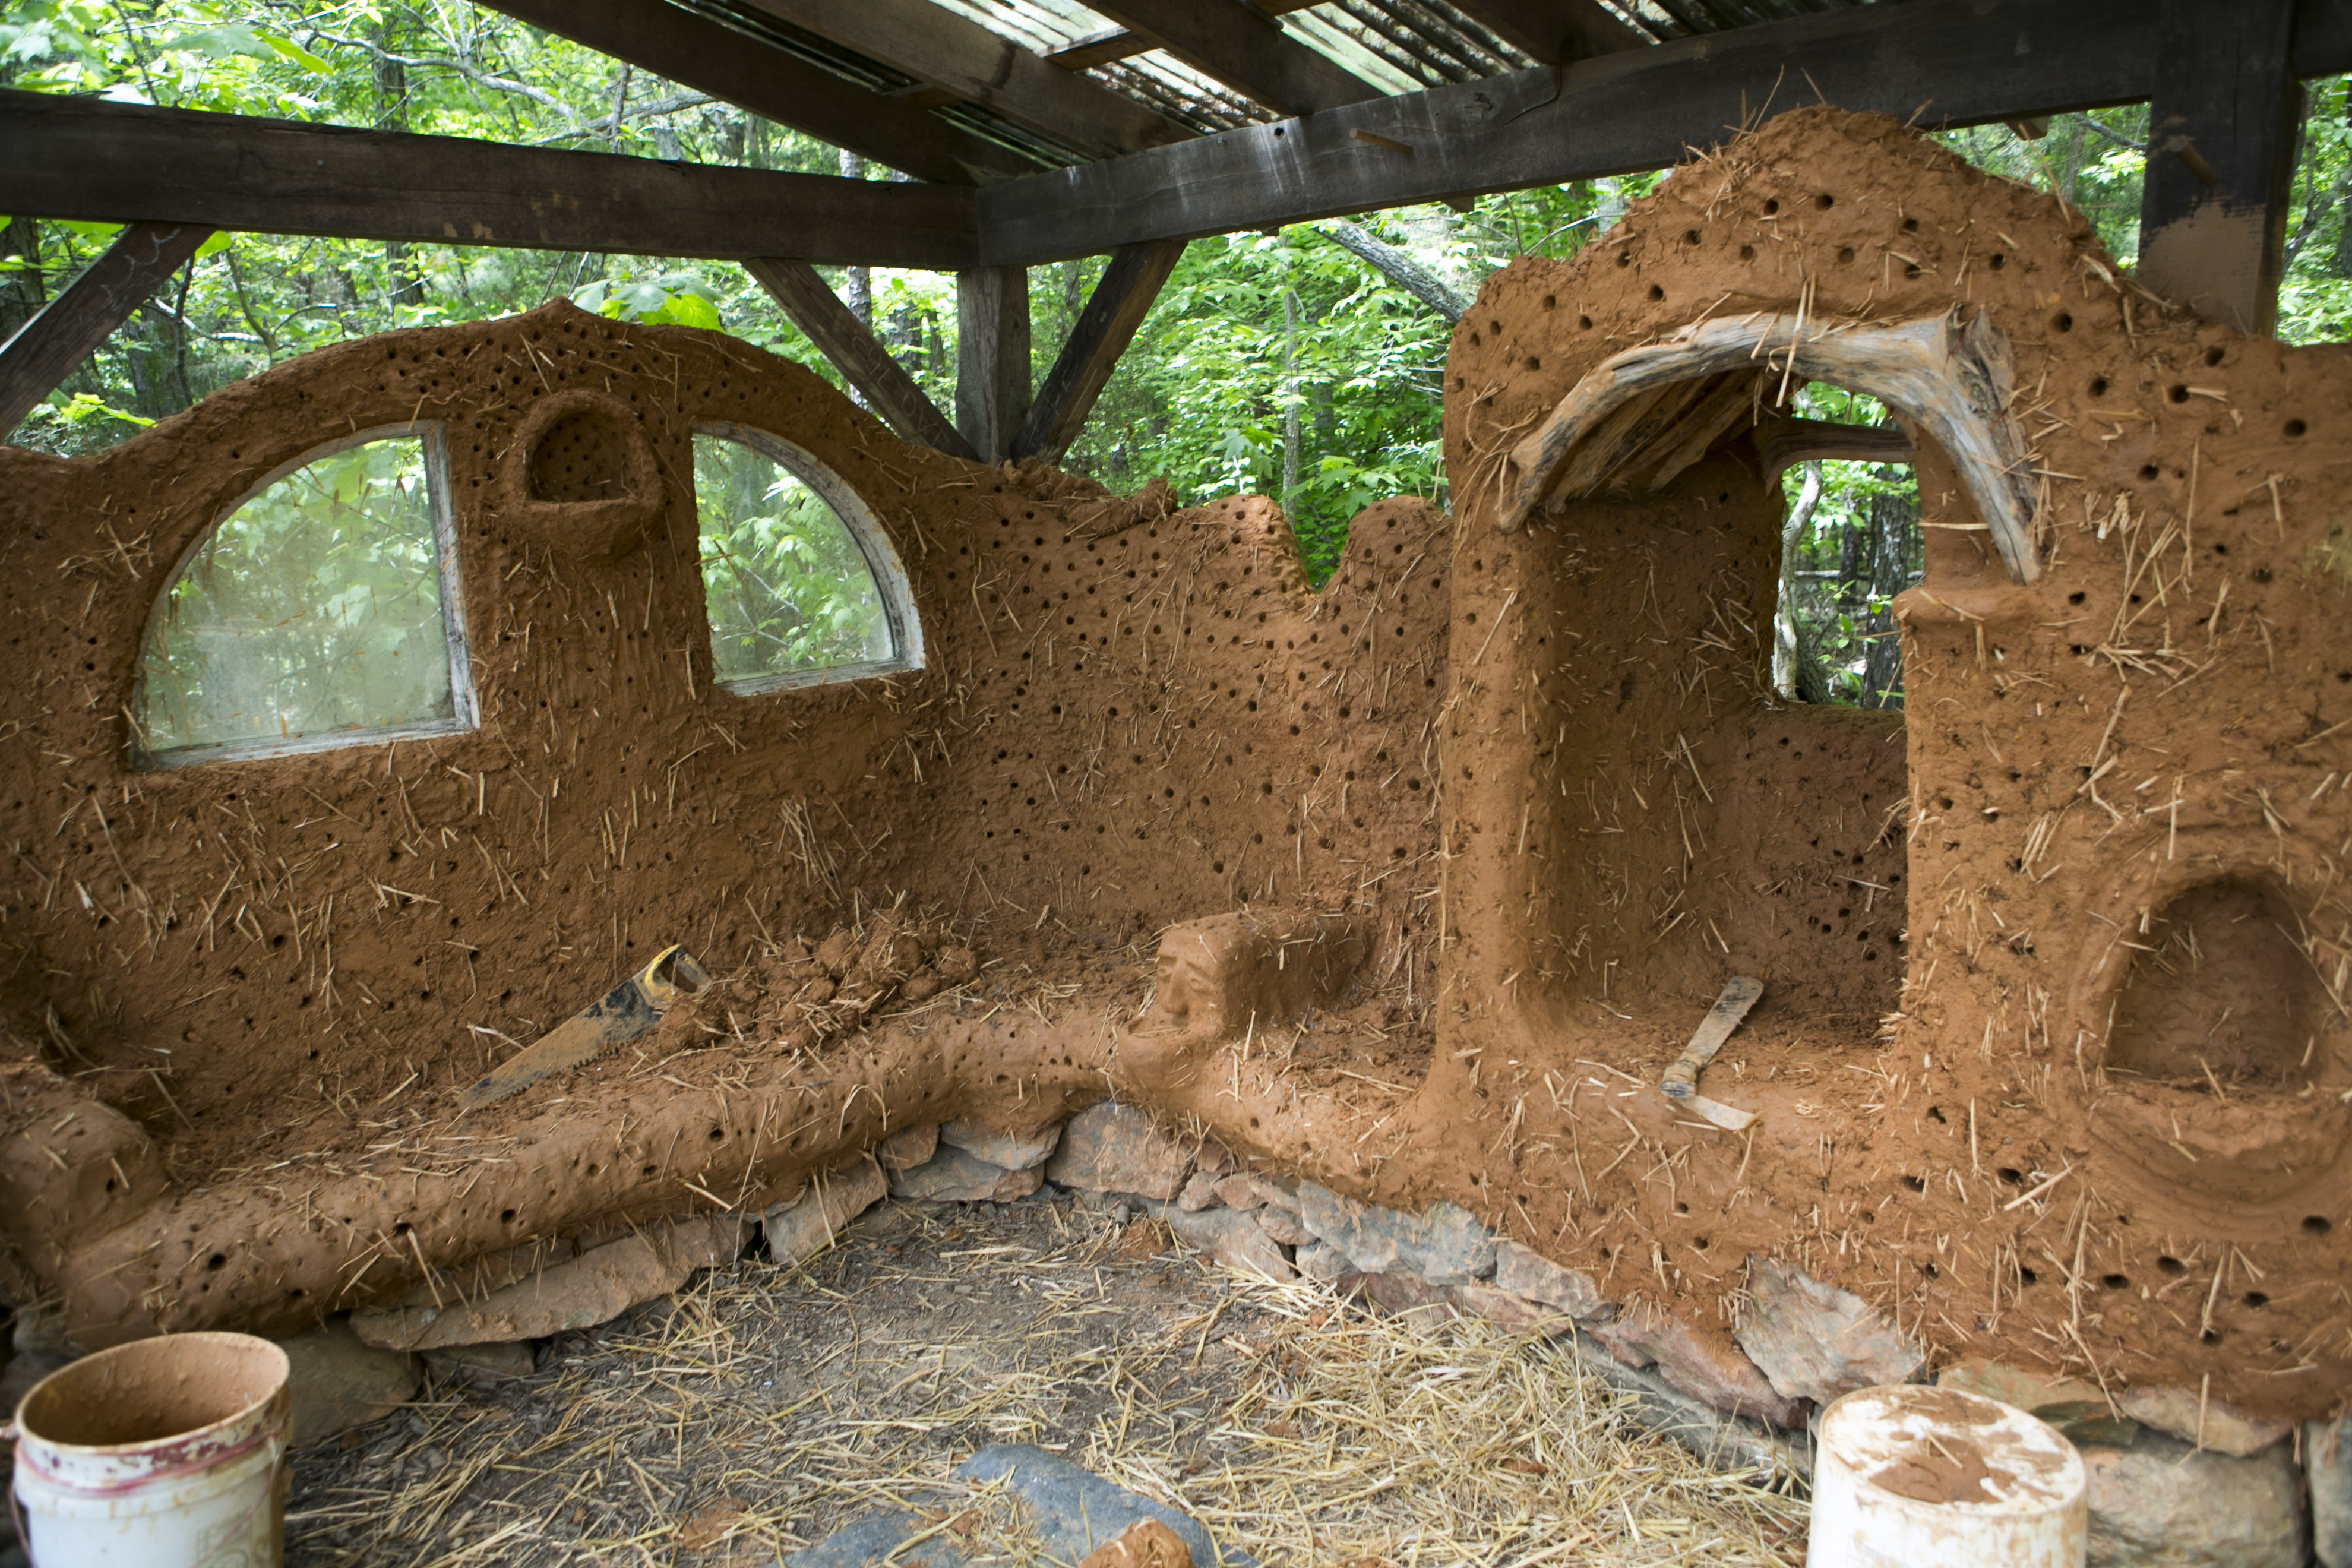
Join us at the future site of the Mud Dauber School of Natural Building, in Central North Carolina, for a natural building immersion! Instructors Greg Allen and Mike McDonough will guide participants through the creation of a cob and strawbale cottage at the edge of a small pond. We will be harvesting clay from beneath our feet and grasses from around the pond, and mixing them with human power right on site! Strawbales from a local farmer will be built into the building as well.
You will learn all of the basics about mixing and applying cob. Strawbales will be integrated into a “balecob” hybrid wall system, which we will discuss the thermal benefits of. We will add a door and windows into the building, with accompanying carpentry experiences. The final days of the workshops will be dedicated to roofing the building with a living roof. Natural plastering opportunities (mixing and applying) will be available for those interested. Most of the week will be completely hands-on – this will be supplemented with sit-down discussions and presentations about foundations, siting a building, roofing options, building permits, and more.
9-Day Permitted Natural Home:
May 17th-25th
The 9-Day Permitted Natural Home
May 17th-25th, 2014
$1,000 [20% off for full payment 90 days in advance, 10% off for 30 days in advance, 10% for family and friends participating together]
Join us at the future site of the Mud Dauber School of Natural Building, in Central North Carolina, for a unique permitted natural building workshop. Instructors Greg Allen and Mike McDonough will guide participants through the creation of a stick-framed cottage, with strawbale and straw-clay walls, natural plaster finishes, and cob details. We will be building with rough-sawn lumber from a nearby sawmill, on-site clay, local strawbales, and as many salvaged materials as possible. The small building we construct will provide the necessary learning experience to go on and build your own permitted building of the size you want.
We will spend most of the week doing hands-on building, covering a mix of conventional and natural techniques: masonry foundation, carpentry, strawbale walls, cob mixing, plastering, roofing, and more. In addition to hands-on work, there will be plenty of time devoted to sit-down discussions and presentations. Each participant will receive a copy of the building permit application to take home as reference. There will be discussion about how to minimize the effect that your local codes/inspectors might have on your ideal natural design.
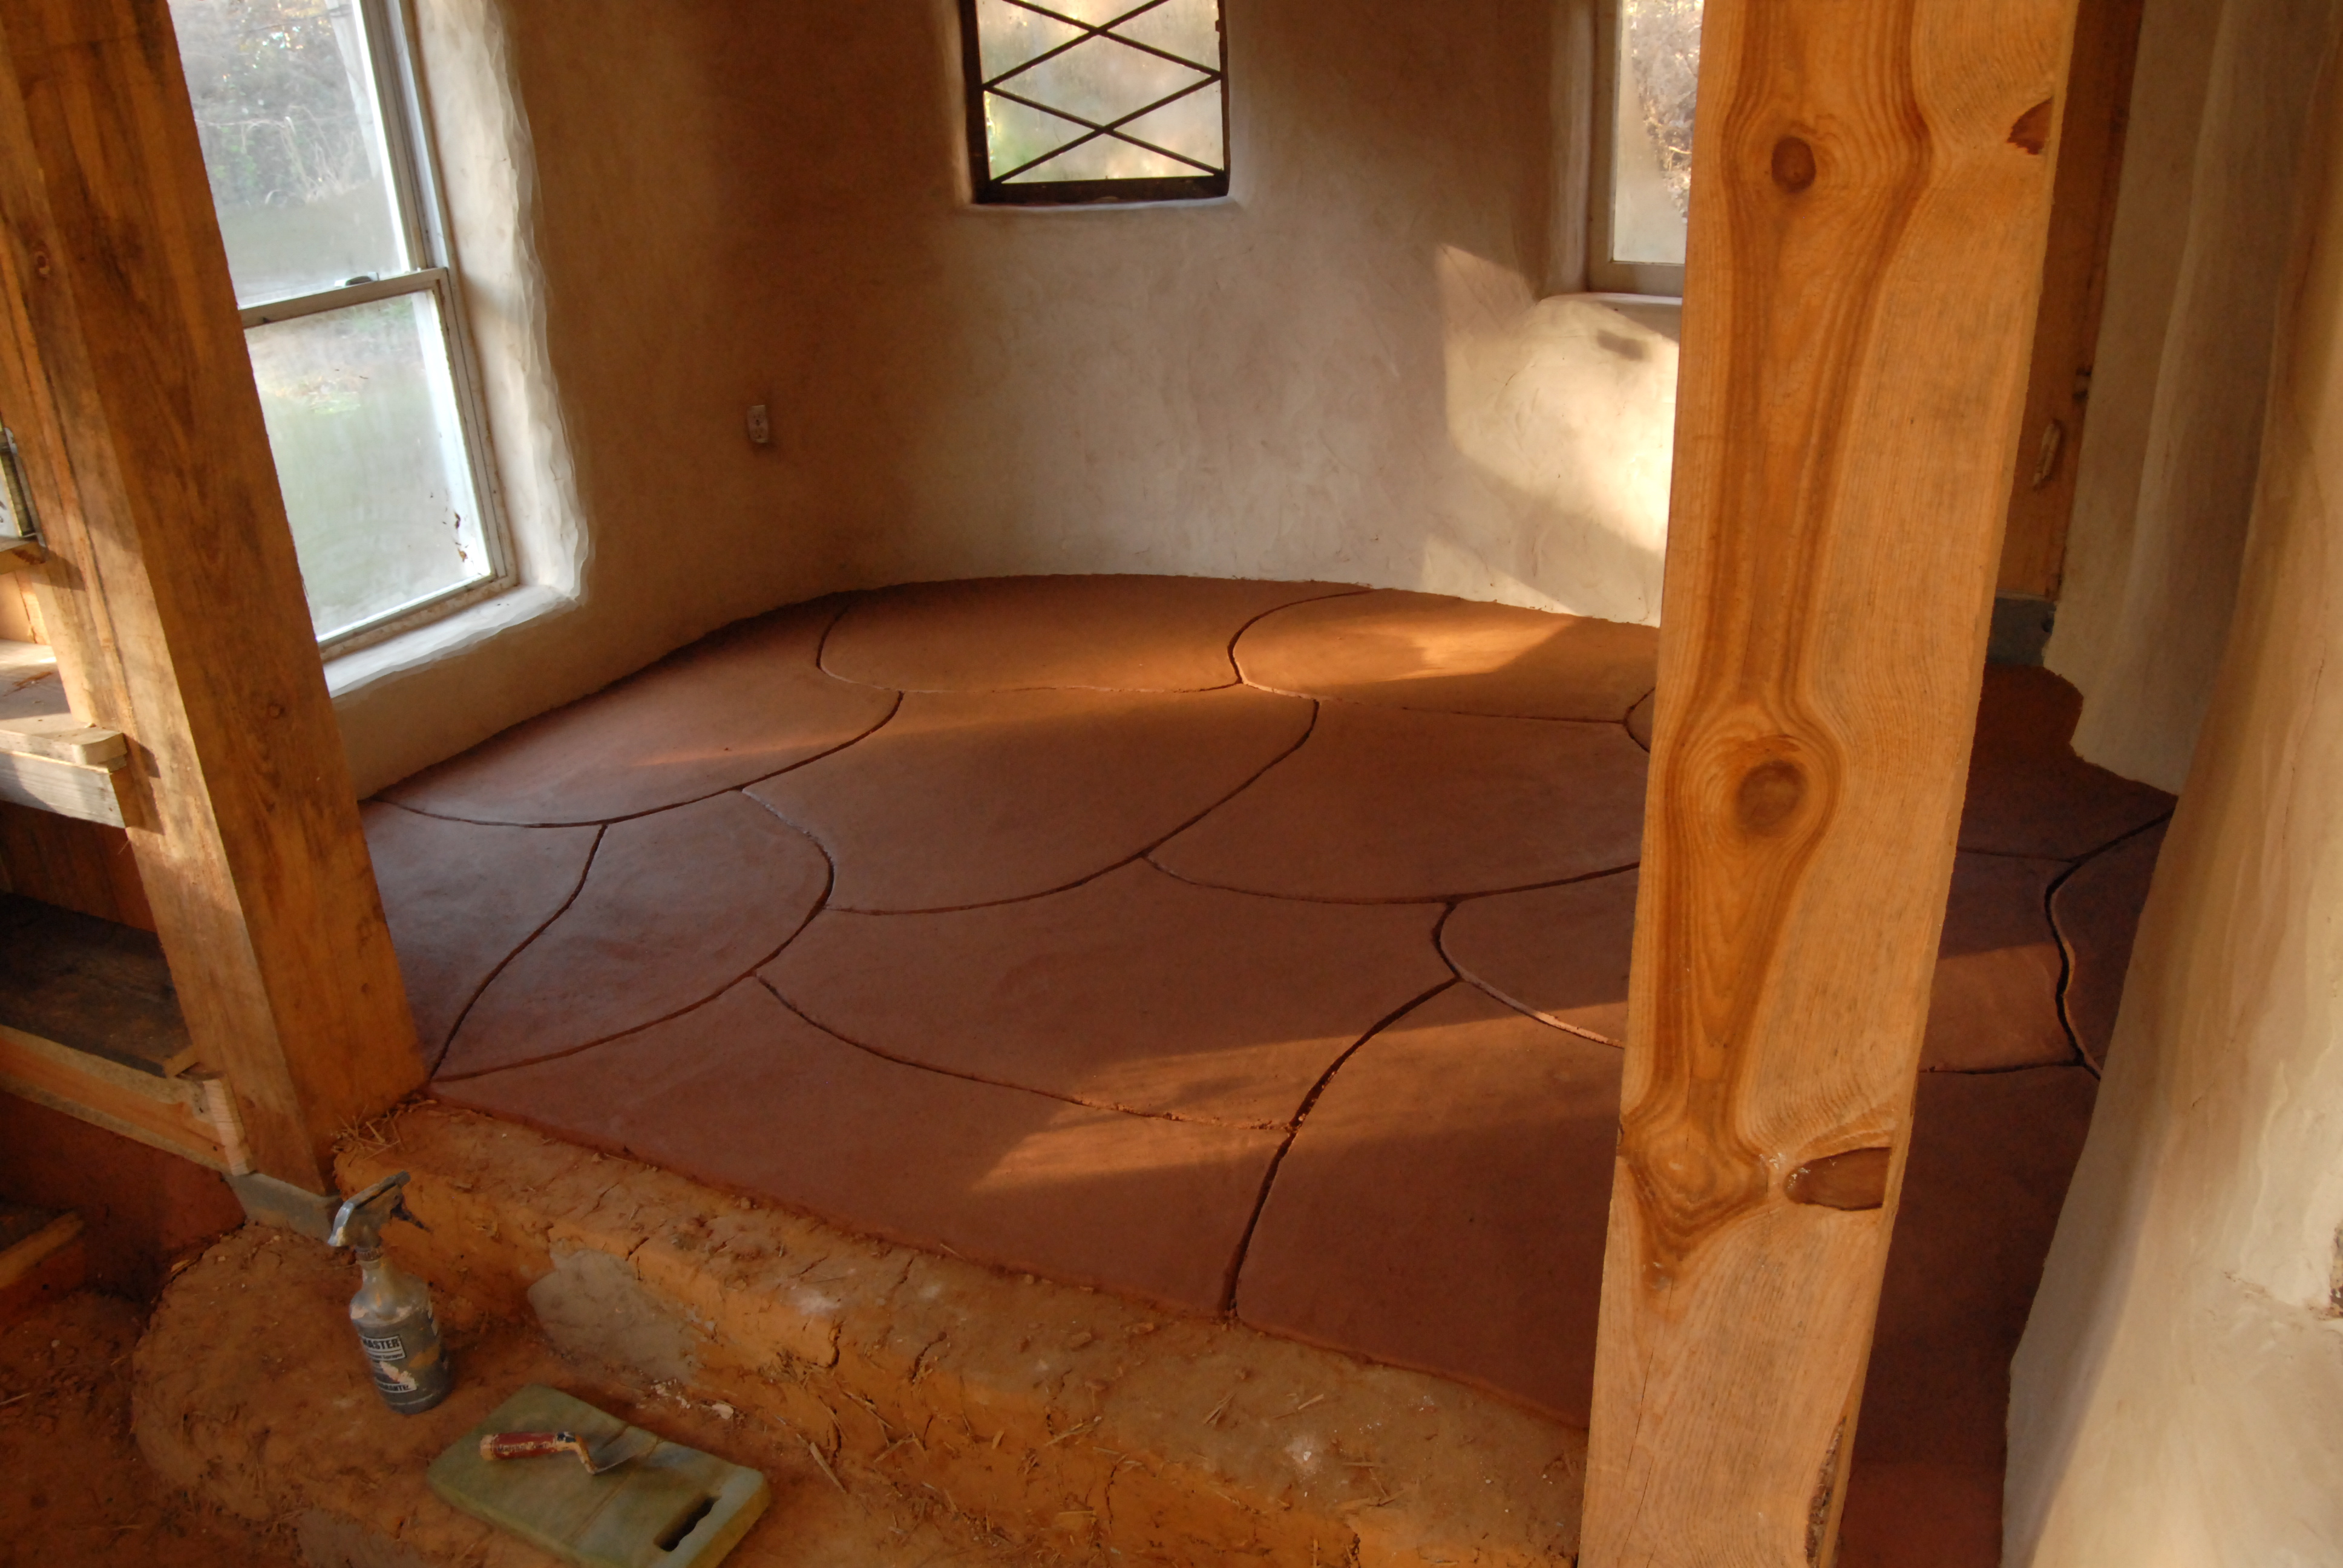
The building will have a concrete pier foundation, a wooden framework, and a metal roof. The walls will be insulated with straw, and the ceiling and floor with dense-pack cellulose. The finish floor will be earthen, and the walls and ceiling will be naturally plastered. There will be opportunities to sculpt cob into a window seat bench, around corners, and to create an arched doorway.
Some of the techniques you will have the opportunity to learn:
– plastering on bales, drywall (for ceiling), and cob
– framing a floor, walls, and roof
– pouring cement piers
– installing a metal roof
– building up strawbale infill walls (stacking, re-shaping, trimming)
– simple wiring
– installing windows and doors
– mixing natural plasters
– earthen floors (if we have time left)
*We will be focusing on the use of hand-tools for this workshop. Power tools will be used infrequently, and by instructors only. A handsaw can be as fast as a circular saw if it’s maintained and you practice!
Three meals a day will be provided, and will be mainly vegetarian, with a couple meat options throughout the week. Most any dietary restriction can be accommodated, and participants are welcome to bring their own snacks. Camping will be available on site, as well as toilet and shower facilities.
Both Greg and Mike graduated from the Cob Cottage Company’s apprenticeship program in 2008, and have teamed up to teach natural building skills on the east coast.
To sign up, or ask questions, e-mail Greg at muddauberschool@gmail.com, or call at 315-657-3980.

photo by Natalia Weedy
Greg and Mike are both apprentices of the Cob Cottage Company, and together have taught many natural building workshops here on the east coast. Here are some lovely photos taken by one of the participants from last year’s springtime cob workshop, Natalia Weedy. Natalia’s photographs capture what I love the most about cob…the satisfaction of working with one’s hands, the joy of creating something together as a community…